Selecting the appropriate adhesive is crucial for the successful installation of strain gauges. Each application demands a specific adhesive tailored to the unique conditions and materials involved. Below, we outline a detailed, step-by-step guide for using the fast-curing adhesive CN in the installation of strain gauges.
1. Preparation
The following items are needed for gluing and connecting the lead wires:
- Strain gauges & glue
- Connection terminals
- Test piece
- Solvent
- Cleaning cloth for industrial use
- Soldering iron & solder
- Sandpaper (grit 120 -320)
- Marking pen & scale
- Tweezers & pliers
- Extension wire
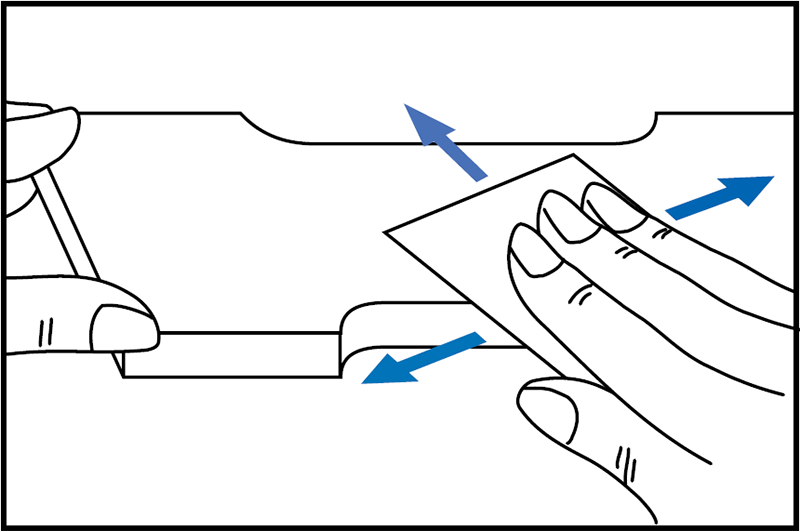
2. Surface preparation
A clean, smooth surface is essential for ensuring strong adhesion of the strain gauge. Follow these steps:
- Clean the surface: Thoroughly remove any grease, rust, paint, or other contaminants. The objective is to achieve a clean, shiny metal surface free from any obstructions.
- Sanding: Use sandpaper to smooth the surface.
For steel surfaces: use grit 120 to 180. For aluminum surfaces: use grit 240 to 320.
Be sure to sand an area slightly larger than the intended adhesive application to promote optimal adhesion.
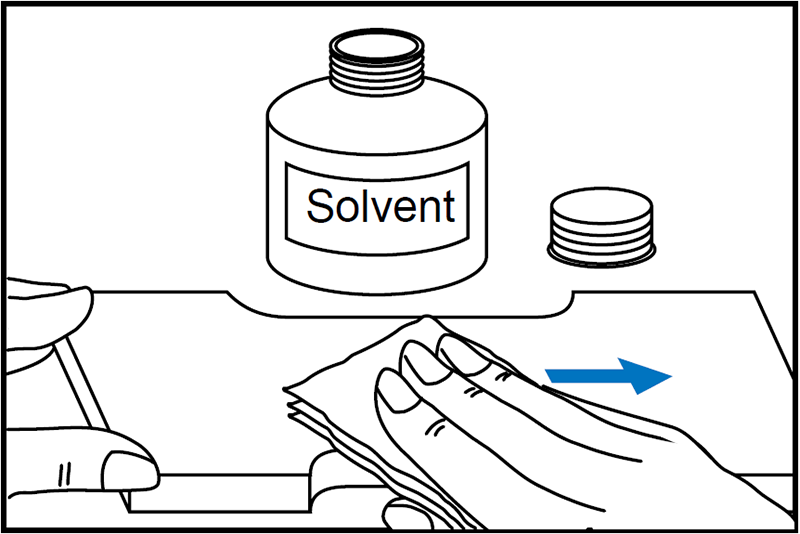
3. Fine cleaning
After sanding, carefully clean the surface to remove the last contaminants:
- Use a solvent: Dampen an industrial cloth with a small amount of a chemical solvent, such as acetone. Wipe down the surface thoroughly.
- Inspect the cleaning: Repeat the cleaning process as needed until the cloth shows no signs of dirt or residue.
- Act quickly: Install the strain gauge immediately after cleaning to prevent the surface from oxidizing or becoming contaminated again.
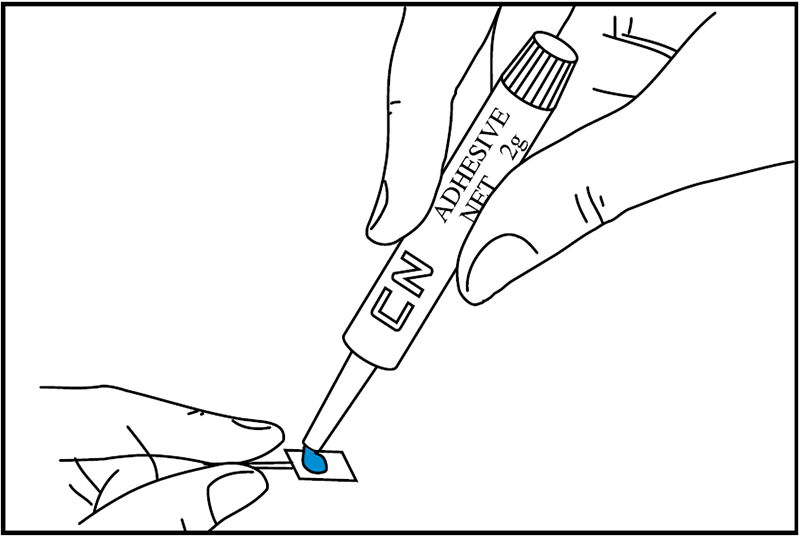
4. Applying adhesive
The proper application of adhesive is essential for successful strain gauge installation:
- Amount of adhesive: Apply a small, precise amount of glue to the back of the strain gauge. Typically, a single drop is sufficient, though larger strain gauges or areas requiring additional reinforcement may need a few extra drops.
- Glue distribution: Use the nozzle of the glue bottle to evenly spread a thin layer of adhesive across the entire surface of the strain gauge. Ensure that the glue covers the entire area to achieve optimal adhesion and secure bonding.
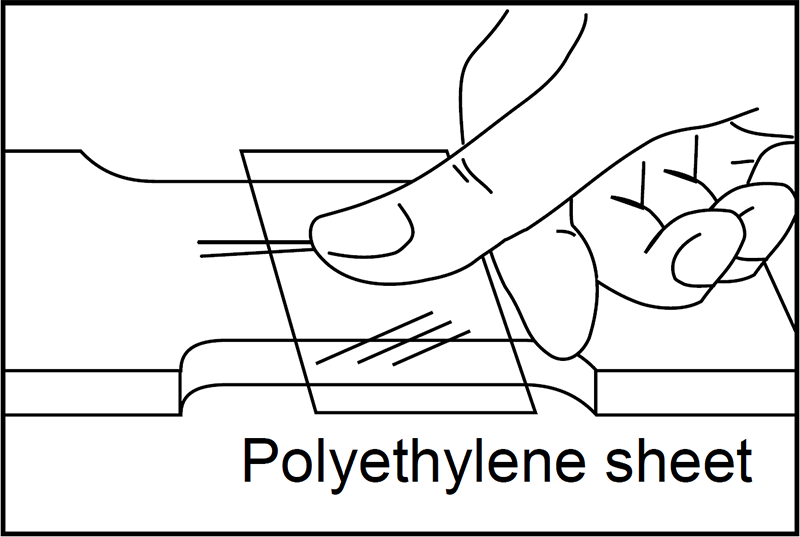
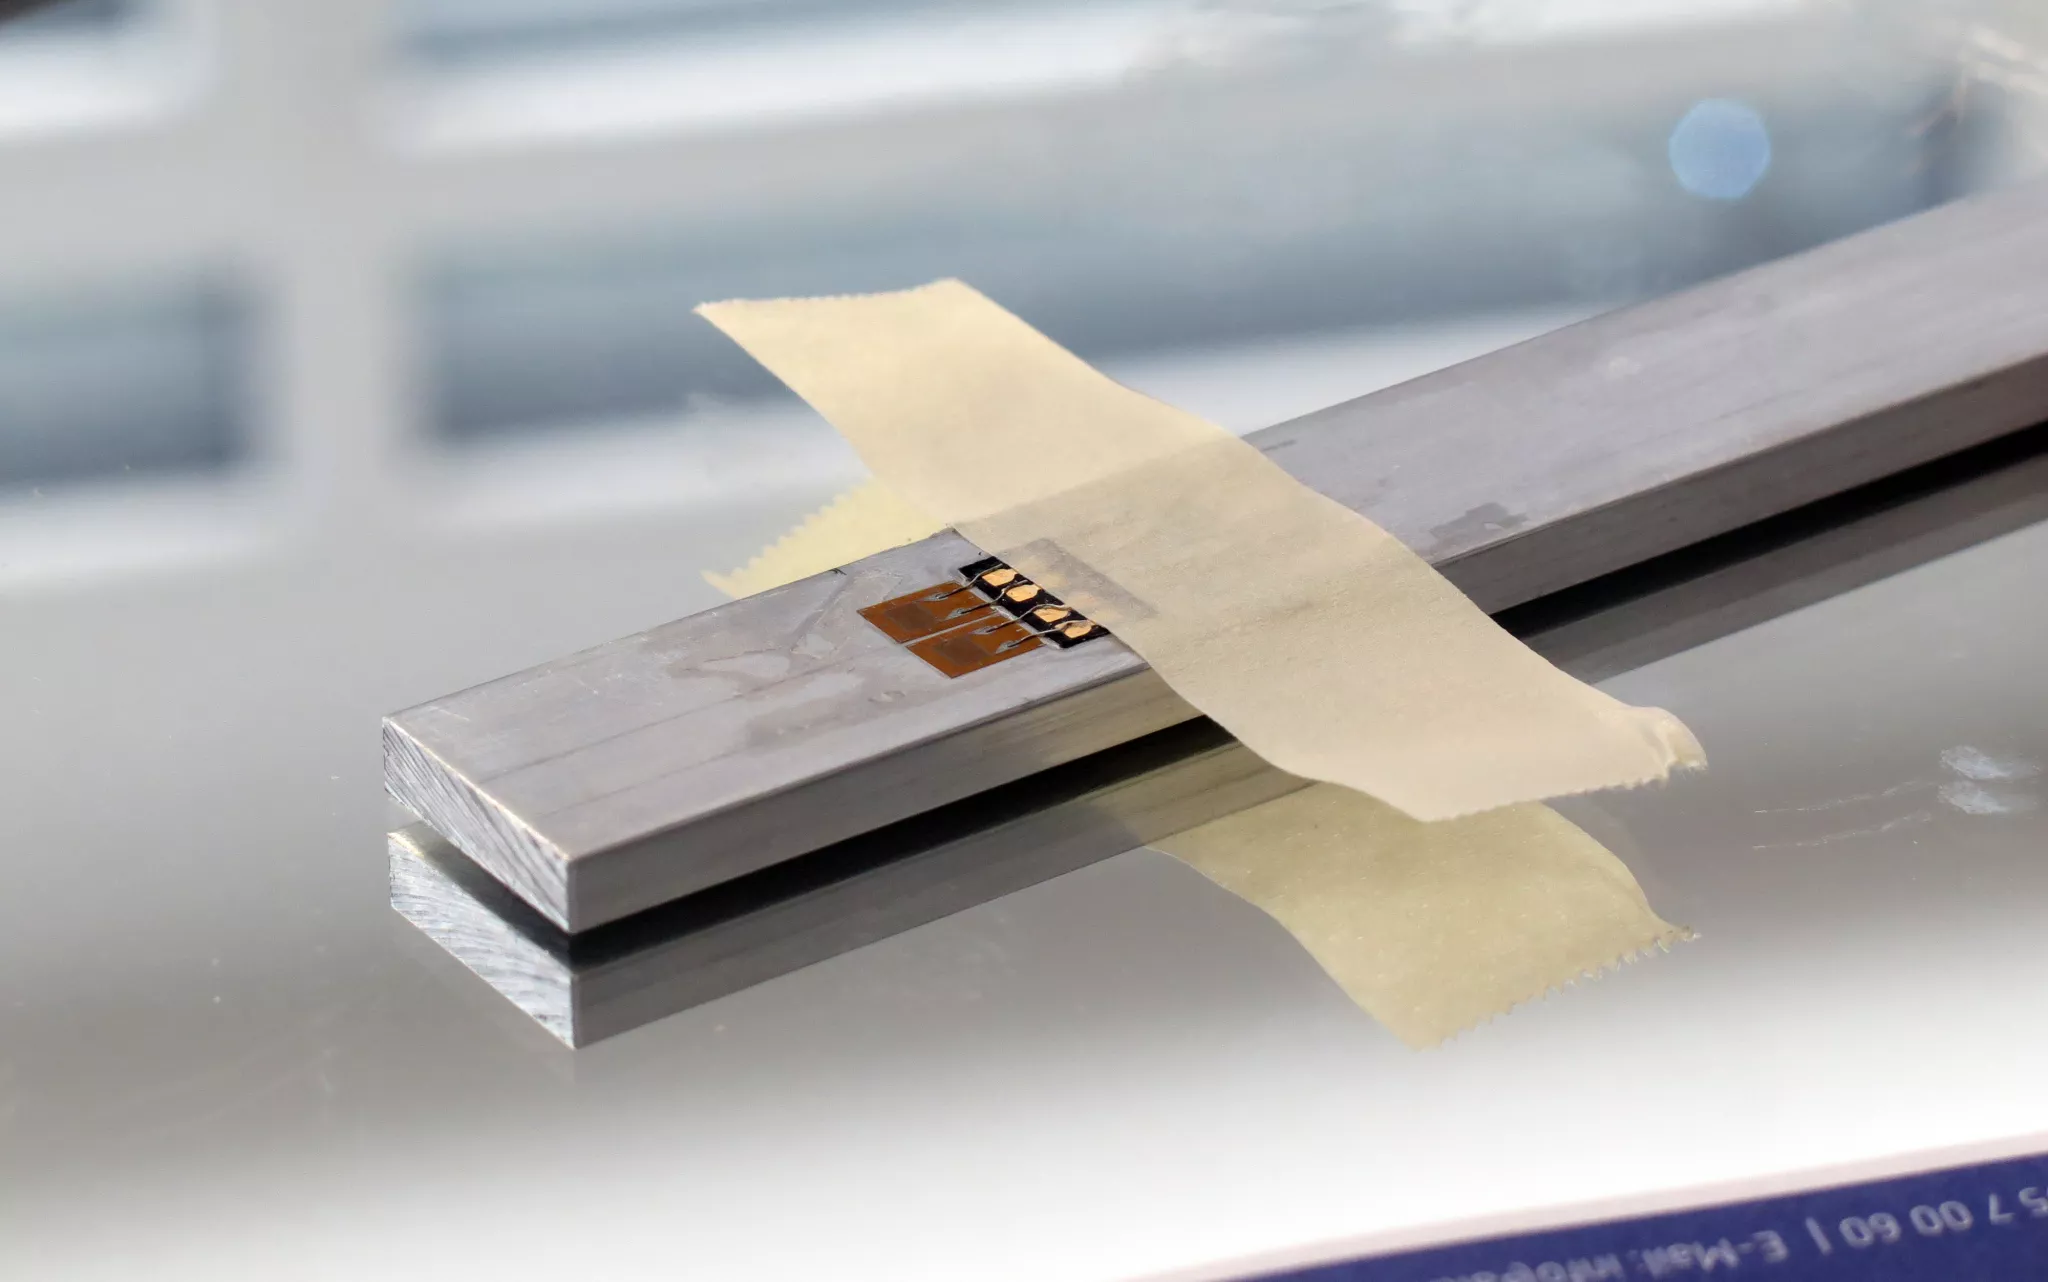
5. Curing and pressing
After application of the adhesive, the strain gauge should be quickly and firmly fixed:
- Positioning: Carefully place the strain gauge at the desired location, ensuring it is perfectly aligned to prevent any measurement inaccuracies.
- Pressing: Cover the strain gauge with a polythene sheet and apply even pressure using your thumb or an appropriate clamp.
Important: Work swiftly, as the adhesive sets within 20-60 seconds, depending on factors like temperature, humidity, and the amount of pressure applied.

6. Raising gauge leads
When the adhesive has fully cured, carefully lift the test leads:
- Protection against damage: Use tweezers to press the ends of the wires down while lifting them slightly. This prevents damage to the sensitive wires in the strain gauge.
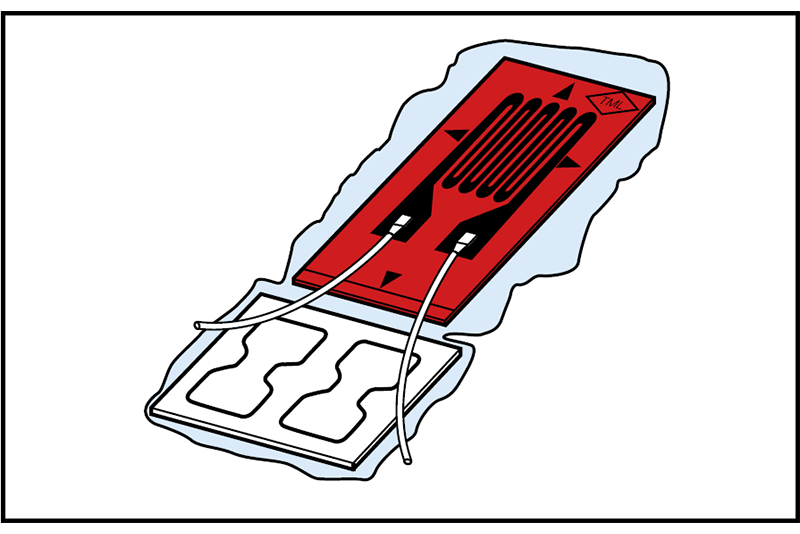
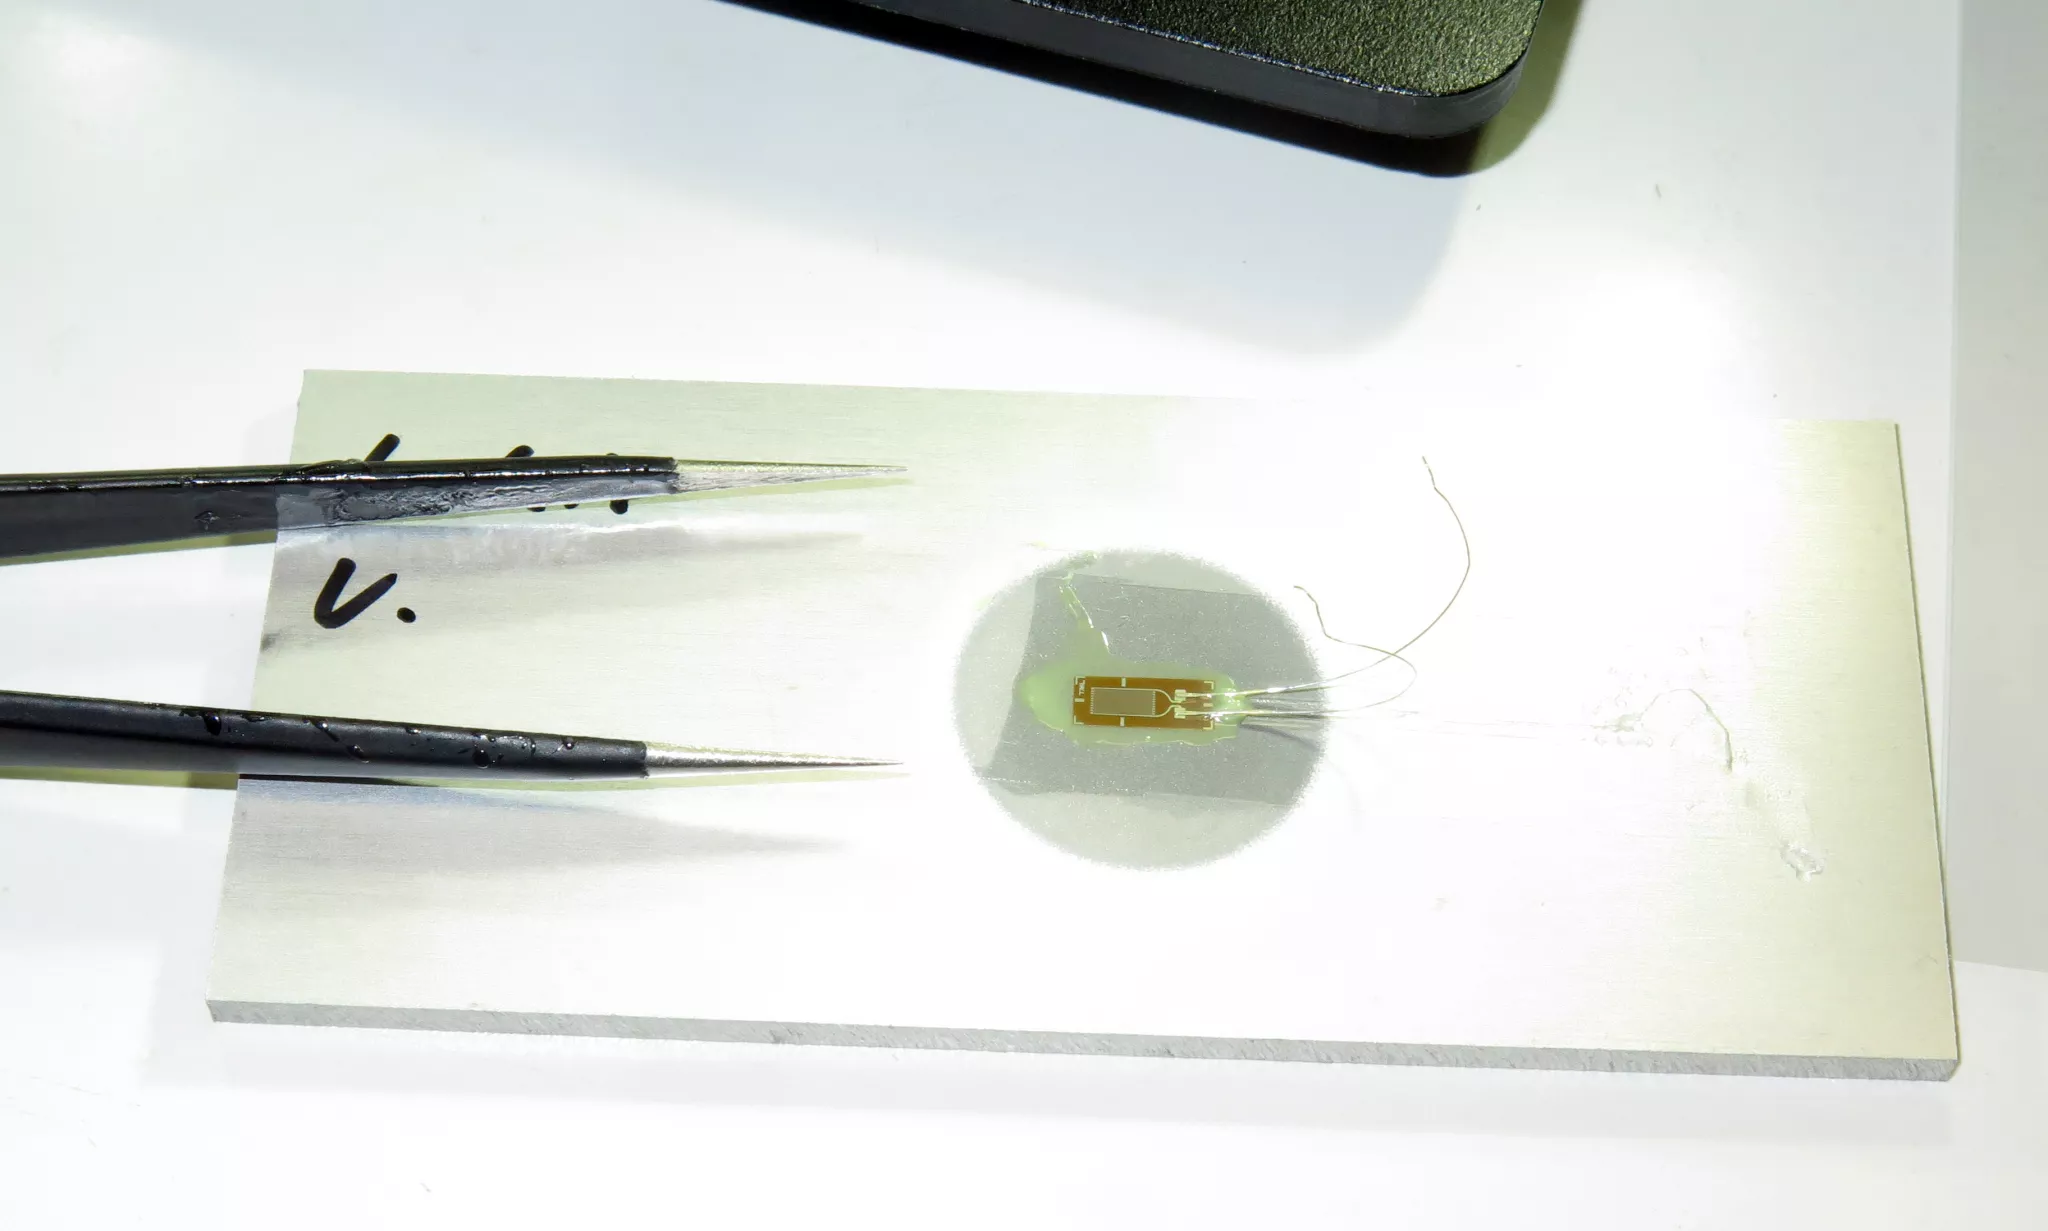
7. Bonding connection terminals
Attach connection terminal near the base of the strain gauge. Make sure the connection terminal is tight to ensure a stable connection.
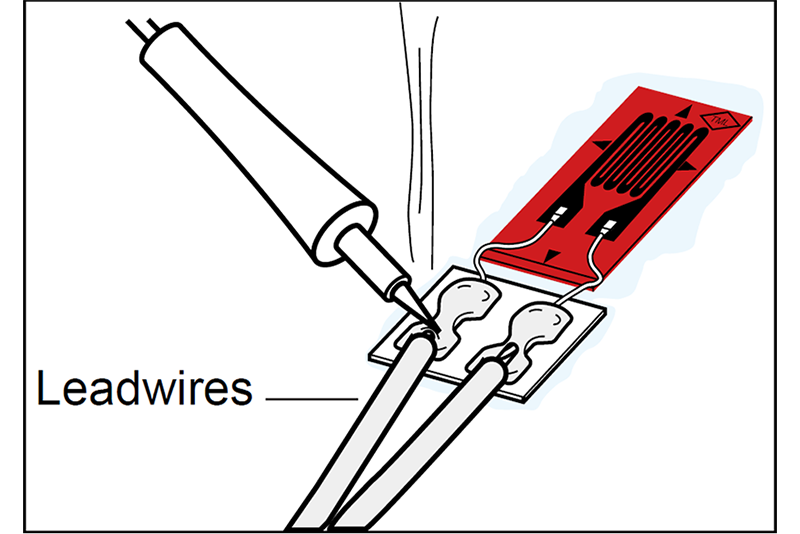
8. Soldering in the lead wires
The last step is to carefully solder the wires:
- Inserting the wires: Ensure there is slight slack in the test leads before securing them to the terminals, allowing for flexibility and preventing tension on the connections.
- Soldering: Apply a small, controlled amount of solder to the metal foil of the terminals. Spread the solder evenly to create a reliable and stable connection. Take care to avoid excess solder that could create short circuits.
- Removing excess solder: After the solder has cooled, use tweezers to gently remove any excess wire or solder for a clean, professional finish.
9. Soldering the connecting wires
It is recommended to coat the exposed cores of the connection wires with solder beforehand. Solder the end of the lead wires to the terminals. Be careful not to heat the terminal too much to peel off the metal foil.
Related products
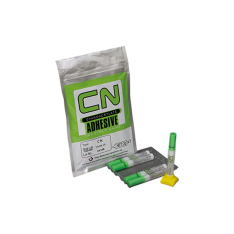
CN adhesives (General purpose)
- Easy-to-use
- Suitable materials: metals, CFRP, GFRP and plastics
- Wide range of applications
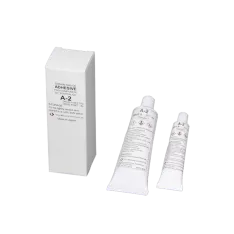
A-2 adhesives (Bolt embedding)
- Suitable for BTM strain gauges
- Temperature range of cured adhesive: -30 to +100 ℃
- Suitable for use on bolts

EB-2 adhesives (Long-term measurement)
- Temperature range of cured adhesive: -60 to +200 ℃
- Suitable for metals and composite
- Stable for a long time
More information
Do you have questions about strain gauges?
Need more information about strain gauges or perhaps additional questions or a quotation? Contact our technical experts, who will be happy to help you further.